What Is Pump Cavitation and Why It Destroys Gears
Cavitation is one of the most destructive failure modes in rotary gear pumps, yet it is entirely preventable with proper system design. Understanding the physics of cavitation and recognizing early warning signs allows plant engineers to stop the damage before catastrophic failure.
Cavitation occurs when the absolute pressure at the pump inlet drops below the vapor pressure of the pumped fluid. When this pressure threshold is crossed, the fluid boils and forms vapor bubbles in low-pressure zones inside the pump. As these bubbles circulate through the pump, they enter regions of higher pressure where they suddenly collapse. The collapse generates intense shock waves and liquid jets that impact gear teeth, seal surfaces, and pump walls at velocities exceeding 300 feet per second. Over thousands of collapse cycles, this microscopic hammer-blow action erodes metal surfaces, creating pitting and roughness that progressively damage the pump.
The consequence: flow loss, pressure drop, vibration, noise, seal leakage, and eventually complete loss of pump function. A cavitating pump can fail from a few hours to a few weeks of operation, depending on severity.
Recognizing Cavitation: Symptoms and Diagnosis
Cavitation produces unmistakable symptoms that alert operators and engineers before complete failure. Learning to recognize these warning signs is the first line of defense.
Cavitation Noise: The Hammering Sound
The most distinctive symptom of cavitation is a loud, repetitive hammering or knocking noise emanating from the pump. This noise resembles gravel being tumbled in the pump casing—a harsh, metallic rattling distinct from normal pump operation. The noise intensity increases with cavitation severity. If the pump previously ran quietly and suddenly develops hammering noise, cavitation is the leading diagnosis.
Flow Loss and Pressure Drop
As cavitation progresses, the pump's flow output decreases noticeably. Vapor bubbles occupy space that should be filled with liquid, reducing the amount of fluid the pump can deliver. Discharge pressure drops below expected values for the given RPM and load. A pump originally delivering 100 GPM may drop to 70 GPM as cavitation develops—a sudden, unexplained loss of flow output.
Vibration Transmitted Through Pump Mounting
Cavitation creates transient pressure spikes as bubble collapse shock waves transmit through the fluid. These pressure spikes cause noticeable vibration transmitted to the motor, pump mount, and piping. Operators may report that the pump "vibrates excessively" or feels "unstable" on its mounting pad.
Visible Pitting Corrosion on Gear Surfaces
The most diagnostic indicator of cavitation damage is microscopic pitting visible on gear tooth surfaces and pump interior walls. If the pump is disassembled, gear teeth appear roughened with crater-like pits where bubble collapse has eroded the metal. This pitting is irreversible; once present, the gear surfaces are permanently damaged and pump reliability is compromised.
Root Causes: Why Cavitation Develops
Cavitation always results from inadequate inlet pressure or excessive friction losses in the suction line. Understanding these root causes is essential because they are all correctable through proper system design.
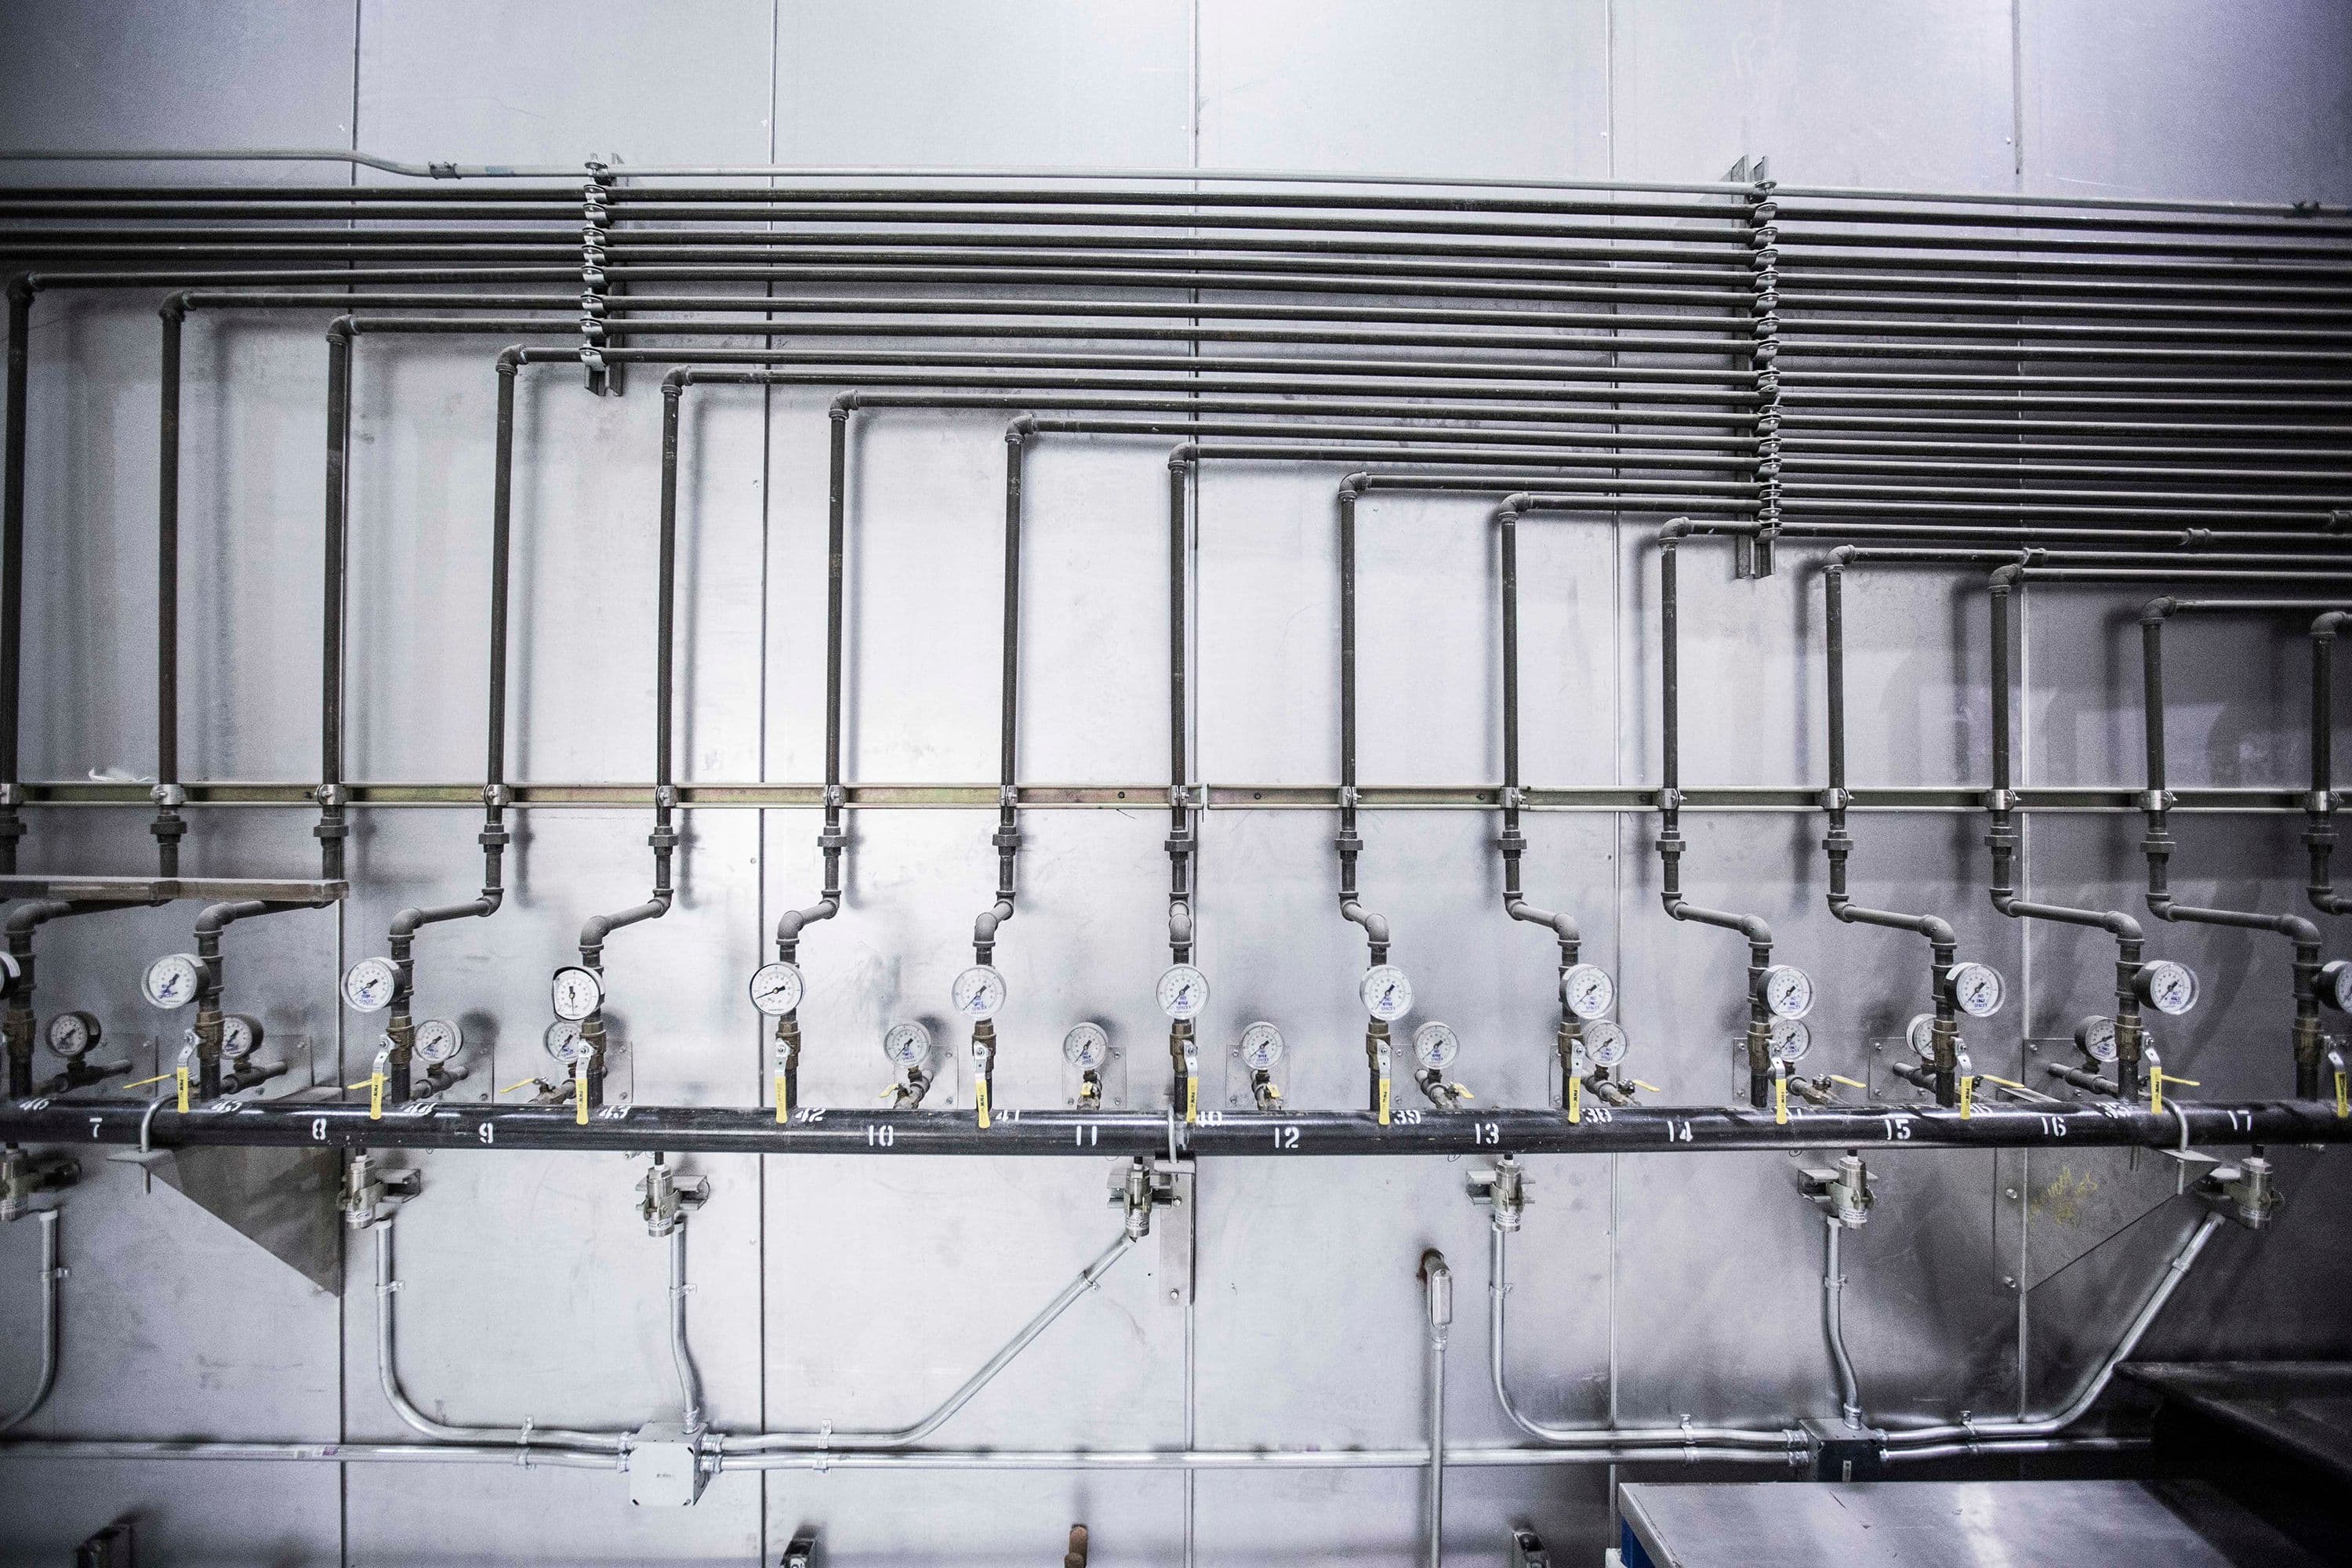
Suction Line Diameter Too Small
The most common cause of cavitation is undersized suction piping. When suction line diameter is too small, the fluid velocity increases to unsustainable levels, creating friction losses that drop the inlet pressure. For a 69 GPM pump, if a 1-inch suction line is used (a common design mistake), the velocity exceeds 12 feet per second. At this velocity, friction losses in a 10-foot suction line can easily drop the inlet pressure 10–20 PSI below atmospheric, creating cavitation.
Solution: Size the suction line for a maximum velocity of 2 feet per second (3 feet per second maximum for less viscous fluids). For a 69 GPM pump, this requires a 2-inch suction line. For a 158 GPM pump, a 3-inch suction line is necessary.
Suction Line Too Long or Restrictive
Long suction lines accumulate friction losses in both straight pipe sections and fittings. A 50-foot suction line with multiple elbows, T-junctions, and a strainer can easily create 15–30 PSI of friction loss at normal pump speeds. If the suction line is longer than 10 feet, friction losses become significant and must be calculated precisely.
Solution: Keep suction lines as short and direct as possible. Use long-radius elbows instead of short-radius elbows. Install the pump as close to the fluid source as practical. If a long suction line is unavoidable, increase the line diameter further to keep velocity below 1.5 feet per second.
Inlet Strainer Clogged or Inadequate
An inlet strainer (suction strainer) protects the pump from contamination but can become clogged with sediment, rust, or debris, creating a significant pressure drop. A 150-micron strainer that is 50% clogged can drop inlet pressure 5–10 PSI. A fully clogged strainer creates near-total flow restriction.
Solution: Inspect inlet strainers monthly. Clean or replace when differential pressure (measured across the strainer) exceeds 5 PSI. Use a 150-micron strainer for standard applications; consider 100-micron or finer for highly contaminated fluid sources. Install a differential pressure gauge at the strainer to alert operators to clogging.
Pump Running at Excessive RPM for the Suction Condition
A suction line sized for 1000 RPM operation will create cavitation if the pump is accelerated to 1500 RPM. The flow rate increases proportionally with RPM, but the suction line diameter remains the same, causing velocity and friction losses to increase. Even a moderately undersized line can function at lower RPM but fail by cavitation at higher speeds.
Solution: Do not operate the pump faster than the suction line was designed to support. If higher flow is required, upgrade the suction line diameter first, then increase RPM. Consult NAPCO engineering for RPM limits and suction line sizing for your application.
Fluid Viscosity Too High for Suction Conditions
High-viscosity fluids (oils, polymers, adhesives, chocolate) create substantial friction resistance in suction lines. A suction line that works fine with 10-centipoise oil may create cavitation when pumping 500-centipoise adhesive through the same line. The friction losses increase dramatically with viscosity, dropping the inlet pressure below vapor pressure.
Solution: For high-viscosity applications, reduce suction line velocity further (target 1 ft/s or less). Heat the fluid to reduce viscosity and lower friction losses. Use flooded suction (inlet below fluid surface) whenever possible. Consult NAPCO engineering for viscosity-specific suction line sizing.
No Flooded Suction and Excessive Inlet Pressure Drop
If the pump inlet is above the fluid surface in the supply tank (non-flooded suction), the pump must create a vacuum to draw fluid upward. This vacuum effect reduces inlet pressure below atmospheric, making cavitation likely even with a properly sized suction line. Non-flooded suction is inherently risky for cavitation.
Solution: Wherever possible, install the pump inlet below the fluid surface (flooded suction). Flooded suction supplies positive inlet pressure, eliminating the pressure-drop risk. When flooded suction is not feasible due to system constraints, oversizing the suction line and minimizing friction losses becomes absolutely critical.
Cavitation Prevention: Engineering Best Practices
Preventing cavitation requires a systematic approach to inlet design. The good news: cavitation is entirely preventable with proper engineering attention.
Step 1: Correctly Size the Suction Line Diameter
The suction line velocity must remain below 2 feet per second under all operating conditions. For high-viscosity fluids or long suction paths, target 1 foot per second or less.
Formula for required diameter:
Diameter (inches) = <Square root of> (4 × GPM / (60 × Pi × velocity in ft/s))
Examples:
- PA200S (69 GPM) at 2 ft/s velocity: Diameter = <Square root of> (4 × 69 / (60 × 3.14159 × 2)) = 2.07 inches → Use 2-inch suction line
- PA300S (158 GPM) at 2 ft/s velocity: Diameter = <Square root of> (4 × 158 / (60 × 3.14159 × 2)) = 3.08 inches → Use 3-inch suction line
- High-viscosity fluid (target 1 ft/s): Increase diameter by ~40% above the 2 ft/s calculation
Step 2: Minimize Suction Line Length and Complexity
Every foot of suction line length and every fitting (elbow, T-junction, strainer) adds friction loss. Keep suction lines as short and direct as possible. Position the fluid supply tank as close to the pump inlet as practical.
- Target suction line length: less than 10 feet
- Use long-radius elbows (90-degree, 45-degree) instead of short-radius fittings
- Avoid unnecessary T-junctions or branch lines in the suction path
- If suction line must exceed 10 feet, increase diameter further and calculate friction losses
Step 3: Install and Maintain Inlet Strainers
Protect the pump with an inlet strainer, but monitor clogging carefully. A 150-micron inlet strainer is standard for most applications.
- Install a differential pressure gauge at the strainer inlet and outlet
- Alert maintenance to clean/replace strainer when pressure drop exceeds 5 PSI
- For highly contaminated applications, upgrade to 100-micron or finer strainers
- Never bypass the inlet strainer to "fix" pressure problems—the real issue is clogging
Step 4: Use Flooded Suction Whenever Possible
Flooded suction (pump inlet below fluid surface, providing positive inlet pressure) is the most effective cavitation prevention method. If system design permits, prioritize flooded suction installation.
- Flooded suction supplies positive inlet pressure, eliminating pressure-drop risk
- Even with a marginally sized suction line, flooded suction prevents cavitation
- Flooded suction improves pump reliability and extends service life
- For mobile or portable pump installations where flooded suction is not possible, oversizing the suction line is mandatory
Step 5: Operate Within Design RPM Limits
The suction line is sized for a specific maximum RPM. Operating faster than design increases flow velocity and friction losses, triggering cavitation.
- Do not exceed the RPM at which the suction line was engineered
- If higher flow is required, upgrade the suction line diameter first, then increase RPM
- NAPCO PA200S and PA300S series can operate up to 280 RPM (PA200S to 190 RPM is typical; PA300S to 280 RPM for high-volume duty). Confirm maximum safe RPM with NAPCO engineering before specifying motor speed.
Cavitation Troubleshooting Checklist
If a pump exhibits cavitation symptoms, work through this checklist systematically to identify and correct the root cause.
- Check inlet strainer condition: Is the differential pressure gauge above 5 PSI? Clean or replace the strainer immediately. A clogged strainer is the easiest cavitation cause to fix.
- Measure suction line diameter: Is the suction line at least 2 inches for a 69 GPM pump, or 3 inches for a 158 GPM pump? If smaller, it is undersized for the flow. Increase diameter to the next nominal size (e.g., 1 inch → 1.5 inch, 2 inch → 2.5 inch).
- Inspect suction line length and path: How many feet of pipe and how many fittings are in the suction line? Long, complex suction paths accumulate friction losses. Redesign for shortest, most direct path possible.
- Verify flooded suction: Is the pump inlet above or below the fluid surface? If above, consider repositioning the pump below the tank outlet, or elevating the tank to provide flooded suction.
- Check fluid viscosity: Has the pumped fluid viscosity changed or increased? Higher viscosity increases friction losses in suction lines. Heat the fluid to reduce viscosity or upgrade the suction line diameter.
- Confirm pump RPM: Is the pump running faster than the suction line was designed for? Reduce RPM or redesign the suction line for higher speeds.
- Inspect for inlet leaks: Are there any cracks, loose fittings, or air leaks in the suction line or pump inlet? Air leaks reduce inlet pressure and trigger cavitation. Seal all leaks immediately.
- Check fluid level in tank: Is the supply tank fluid level adequate? Low fluid level reduces available inlet pressure. Maintain tank level above minimum mark.
Repairing Cavitation-Damaged Pumps with NAPCO Repair Kits
Once cavitation has caused visible pitting damage on gear surfaces, the pump cannot be restored by cleaning or repair of external components alone. Gear teeth are permanently scarred, and pump reliability is compromised. The solution is installation of a complete NAPCO repair kit with new internal components.
What Is Included in a NAPCO Repair Kit
NAPCO repair kits (PK200S/C and PK300S/C) include all internal wear components:
- Drive gear (input gear with hardened tooth surfaces)
- Idler gear (driven gear with hardened surfaces)
- Internal shaft and bearings
- Center case and end cover surfaces
- High-pressure seal kit (primary seals)
- Low-pressure seal kit (case drain seals)
- Gaskets and fasteners
- Complete rebuild procedure documentation
Field Rebuild Advantage
Unlike factory rebuilds that require shipping the pump back to the manufacturer and waiting 4–8 weeks for return, NAPCO repair kits enable on-site field rebuild. A trained maintenance technician can disassemble the pump, install new gears and seals, and have the pump running in 3–4 hours, minimizing production downtime.
Post-Repair Testing
After kit installation, run the pump at low pressure and RPM for 15–20 minutes to verify proper operation and listen for any residual cavitation noise. If cavitation symptoms persist after kit installation, the root cause (undersized suction line, clogged strainer, excessive RPM) was not corrected. Do not operate the pump under full load until the underlying cavitation cause is fixed.
Related Technical Resources
Troubleshooting Cavitation Issues?
NAPCO engineering can help diagnose cavitation root causes and recommend suction line sizing for your pump configuration, fluid viscosity, and operating RPM. Contact us with your pump model, flow rate, viscosity, and suction line details.
Contact NAPCO Engineering